


Cleaning a new house before unpacking gives you an opportunity you probably will not have again for years: every cabinet is empty, every closet is accessible, furniture is not blocking the baseboards, and you can reach almost every part of the floor. If you have access to the home before the moving truck arrives, this is the best time to give it a thorough move-in clean.
The goal is not to disinfect every square inch of the house. Most ordinary household surfaces need a thorough cleaning with the appropriate product, while kitchens, bathrooms, frequently touched surfaces, and areas with visible contamination deserve more attention. A previously occupied home may have grease, pet hair, dust, odors, crumbs, soap residue, or neglected appliance interiors. A newly built home presents a different problem, with construction dust, adhesive residue, packaging material, and newly installed paints, cabinets, flooring, and other materials that may still be releasing odors and volatile organic compounds.
This new house cleaning checklist covers both situations. Start with the quick checklist below if you simply need to know what to clean before moving in, then use the room-by-room sections for the detailed process. The most efficient approach is to work from high surfaces downward, leave floors until the end, and complete as much as possible before furniture and moving boxes enter the house.
New House Cleaning Checklist
Before You Start
- □ Photograph the condition of every room before cleaning
- □ Check for leaks, water stains, visible mold, pest evidence, and damaged surfaces
- □ Open windows for ventilation when weather and outdoor conditions allow
- □ Gather cleaners, gloves, microfiber cloths, vacuum, mop, bucket, and garbage bags
- □ Read cleaning-product labels before using them on unfamiliar surfaces
- □ Check the HVAC filter and replace it if its age or condition is unknown
Kitchen
- □ Clean inside and outside of the refrigerator and freezer
- □ Clean the oven and stovetop
- □ Degrease the range hood and clean its removable filter
- □ Clean the microwave
- □ Clean the dishwasher filter and interior
- □ Wipe the inside of every cabinet and drawer
- □ Clean cabinet fronts and handles
- □ Clean countertops and backsplash
- □ Clean and disinfect the sink and faucet
- □ Clean behind and beneath accessible appliances
- □ Sweep or vacuum, then mop the floor
Bathrooms
- □ Clean the toilet, including the base, hinges, lid, and exterior
- □ Scrub the bathtub and shower
- □ Inspect grout and caulk for deterioration or mold
- □ Clean sinks, faucets, and countertops
- □ Clean mirrors
- □ Wipe inside vanity cabinets and drawers
- □ Remove visible hair and debris from drains
- □ Clean the exhaust-fan cover
- □ Sweep and mop the floor
Bedrooms and Closets
- □ Dust ceiling fans and light fixtures
- □ Clean windows, sills, tracks, and blinds
- □ Wipe closet shelves and hanging rods
- □ Clean doors, handles, and light switches
- □ Dust trim and baseboards
- □ Vacuum carpet or clean hard flooring
Living Rooms, Hallways, and Entryways
- □ Dust ceiling fans and fixtures
- □ Clean windows and window sills
- □ Wipe doors, handles, switches, and stair railings
- □ Dust trim and baseboards
- □ Vacuum accessible air registers
- □ Vacuum carpet or clean hard floors
Laundry and Utility Areas
- □ Clean the washing-machine drum and detergent compartments
- □ Inspect and clean a front-loader door gasket
- □ Clean the dryer lint screen and accessible lint areas
- □ Inspect the dryer exhaust connection
- □ Clean the utility sink and shelving
- □ Sweep and mop the floor
Whole-House Safety and Maintenance
- □ Test smoke alarms
- □ Test carbon monoxide alarms where installed
- □ Locate the main water shutoff
- □ Locate the electrical panel
- □ Locate the gas shutoff if applicable
- □ Replace or inspect the HVAC filter
- □ Check registers for excessive debris or visible contamination
- □ Rekey or replace exterior-door locks when appropriate
Before the Movers Arrive
- □ Allow floors and cleaned surfaces to dry completely
- □ Put soap, hand towels, and toilet paper in at least one bathroom
- □ Leave paper towels and garbage bags accessible
- □ Set aside drinking water and basic kitchen supplies
- □ Protect freshly cleaned floors along the movers’ main walking route
Free New House Cleaning Checklist PDF
If you want to take the checklist with you instead of scrolling through the full guide while you clean, download our New House Cleaning Checklist PDF. It is a printable, two-page checklist designed for the period after you get the keys but before the moving truck arrives.
The PDF organizes the move-in clean by area, including the kitchen, bathrooms, bedrooms and closets, living areas, laundry room, HVAC and basic home-safety checks. Each task has a checkbox so you can work through the house room by room without missing the areas that become difficult to reach after furniture and boxes are brought inside.
New House Cleaning Checklist PDF
2-page printable checklist covering what to clean before unpacking, from kitchen appliances and bathroom fixtures to closets, floors, HVAC filters, safety checks, and final moving-day preparation.
Download the Free New House Cleaning Checklist PDF
PDF · 2 pages · Printable move-in cleaning checklist
Prefer to use the checklist directly from your phone? Continue below for the complete new house cleaning checklist, followed by detailed instructions for cleaning each part of the home.
Why Clean a New House Before Moving In?
The biggest advantage of cleaning before moving in is access. Try cleaning the back wall of a kitchen cabinet after it contains three shelves of dishes, or thoroughly vacuuming the edge of a bedroom carpet after a king-size bed has been assembled over it. The work becomes slower as soon as your belongings arrive.
A move-in clean also gives you a known starting point. In a previously occupied home, you usually do not know when the refrigerator shelves were last washed, whether the bathroom exhaust fan has been cleaned, how much pet hair remains around the baseboards, or what is hiding beneath an appliance. The house may look presentable during a walkthrough while still containing years of residue in places that ordinary weekly cleaning rarely reaches.
That does not mean the entire home should be treated as hazardous or covered in disinfectant. Ordinary household cleaning removes dirt and a large portion of the germs found on surfaces. Reserve disinfectants for places where they are appropriate, follow the product label, and pay particular attention to food-contact areas, bathrooms, high-touch surfaces, and anything visibly soiled.
New construction requires a different mindset. There may be no previous occupant to clean up after, but fine construction dust can settle on ledges, inside drawers, around vents, and across flooring. Newly installed paints, adhesives, flooring, cabinets, sealants, and other building materials can also contribute to indoor VOC levels. Cleaning the dust and ventilating the house when conditions allow are sensible parts of preparing a newly completed home for occupancy.
How Long Does It Take to Clean a New House Before Moving In?
A move-in clean takes longer than ordinary weekly cleaning because you are cleaning areas that may not have been touched for months or years. The condition of the house matters just as much as its square footage. An empty three-bedroom home that was professionally cleaned by the seller may need only a few hours of work, while a smaller apartment with greasy appliances, neglected bathroom grout, and pet hair around every baseboard can take considerably longer.
| Home Size | Typical DIY Planning Window | What Usually Takes the Most Time |
|---|---|---|
| Studio / 1 Bedroom | Several hours | Kitchen appliances and bathroom |
| 2 Bedroom Home | Half day to most of a day | Cabinets, floors, bathroom, and windows |
| 3 Bedroom Home | Most of a day | Multiple bathrooms, closets, appliances, and flooring |
| 4+ Bedroom Home | A full day or more | Volume of floors, windows, bathrooms, and storage areas |
If possible, give yourself the day before the move rather than attempting a deep clean while movers are unloading. You can always touch up the entryway and main walking paths after delivery, but the cabinets, closets, appliances, bathrooms, and floors are much easier to clean while the house is empty.
Step 1: Walk Through the House Before You Start Cleaning
Do not open the cleaning supplies immediately after getting the keys. Walk through the entire property first. You are looking for problems that cleaning could hide, problems that cleaning cannot solve, and conditions that should be documented before your belongings enter the home.
Photograph walls, flooring, countertops, appliances, windows, bathrooms, cabinets, and any existing damage. This is particularly important for renters because a clean, timestamped record establishes what was already present when you took possession. Buyers can also benefit from documenting incomplete repairs or construction punch-list problems before furniture begins covering walls and floors.
Look beneath sinks and around toilets for signs of leaking water. Check ceilings for stains and inspect window frames, bathroom caulk, basement walls, and other moisture-prone areas for visible mold. A musty odor that remains concentrated in one part of the house deserves investigation rather than simply being covered with fragrance.
Also inspect kitchen cabinets, utility spaces, and areas behind appliances for pest droppings, nesting material, dead insects, or gnaw marks. If you discover an active infestation, cleaning the visible evidence is only part of the job. The source needs to be addressed as well.
This walkthrough creates a useful boundary between a cleaning problem and a property problem. Dust on a baseboard is a cleaning problem. Water repeatedly entering through a wall is not. Mold caused by an unresolved leak will return if the moisture problem remains, no matter how thoroughly the visible surface is scrubbed.
Step 2: Gather Your Move-In Cleaning Supplies
You do not need a different bottle for every surface in the house. A smaller collection of appropriate cleaners and good tools is usually more useful than a large collection of specialty products. What matters is matching the cleaner to the material and following the manufacturer’s instructions.
- General cleaning: All-purpose cleaner, dish soap, microfiber cloths, non-scratch sponges, scrub brushes, and paper towels.
- Disinfection: An appropriate household disinfectant for bathrooms, high-touch areas, and other surfaces where disinfection is warranted.
- Floors: Vacuum with attachments, broom and dustpan, mop and bucket, and a cleaner approved for your particular hardwood, laminate, vinyl, stone, or tile flooring.
- Kitchen: Degreaser where appropriate, oven cleaner if required, dishwasher cleaner if desired, and brushes for appliance details and grout.
- Bathroom: Toilet cleaner, tile or shower cleaner appropriate for the surface, glass cleaner, grout brush, and a simple drain snake for accessible hair and debris.
- Protection: Cleaning gloves and eye protection when required by the product label or when splashing is possible.
- Replacement items: Correct-size HVAC filter, garbage bags, shelf liner if you use it, smoke-alarm batteries if needed, and basic bathroom supplies for moving day.
Step 3: Clean High to Low and Leave the Floors Until the End
The most useful cleaning sequence is not a rigid list of rooms. It is a direction of travel. Start high and finish low.
Dust ceiling fans, light fixtures, the tops of cabinets, window trim, and other elevated surfaces before cleaning counters or floors. Anything dislodged from above will fall onto the surfaces beneath it. Continue downward through windows, shelves, cabinets, countertops, doors, trim, and baseboards, then vacuum or mop the floor after everything above it has been completed.
Within the house, prioritize the rooms you need immediately. The kitchen and at least one bathroom are usually worth completing first because they become functional as soon as the moving crew arrives. Bedrooms should be clean before bed frames and dressers are assembled. Hallways, entryways, and other main traffic paths may need a final floor touch-up after the movers leave because those are the areas most likely to be walked across repeatedly during unloading.
Step 4: New House Kitchen Cleaning Checklist
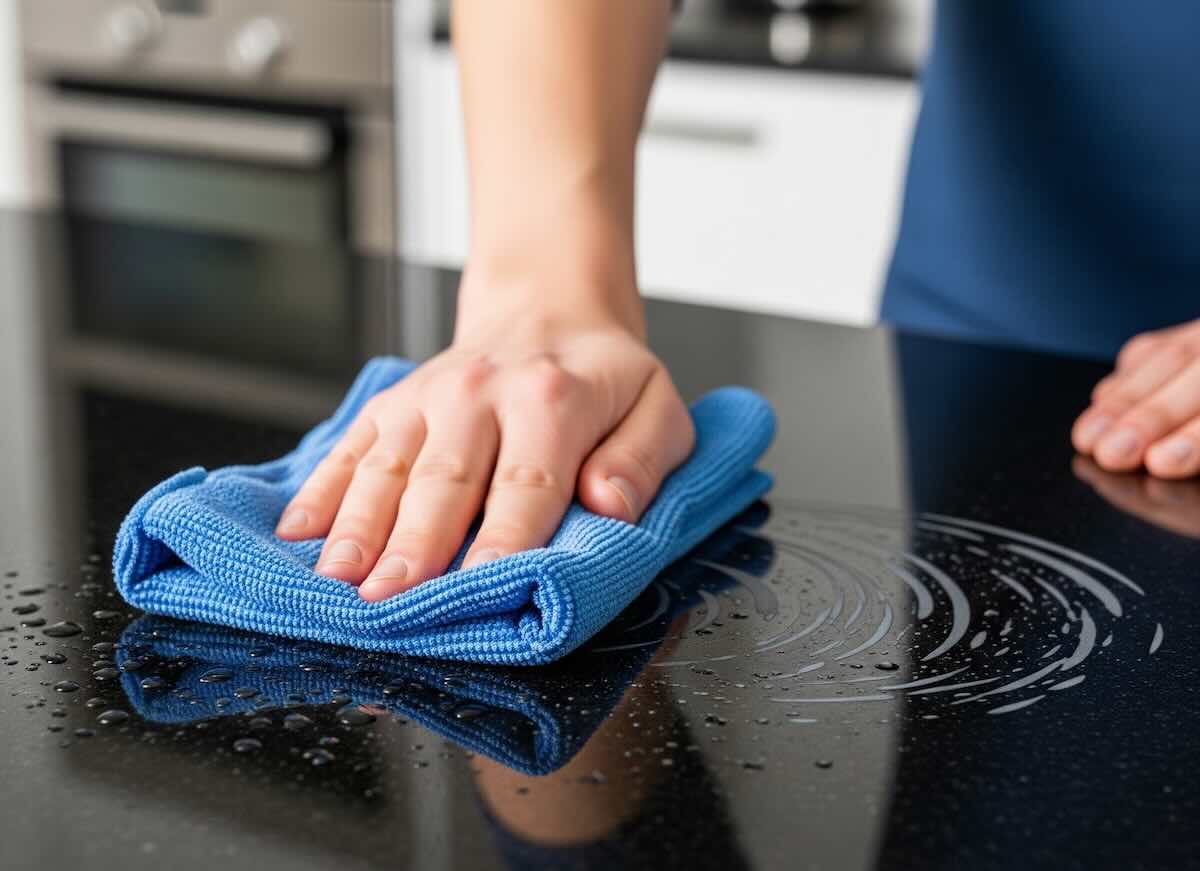
The kitchen usually requires more time than any other room because so many surfaces are about to come into contact with food, cookware, dishes, and utensils. Cleaning it while empty also gives you access to cabinet interiors and appliance areas that become inconvenient as soon as you unpack.
Refrigerator and Freezer
If the refrigerator belongs to the home, remove detachable shelves and drawers and wash them according to the manufacturer’s instructions. Wipe the interior walls, door compartments, and gasket folds, then clean handles, the exterior, and the top of the refrigerator. If the unit has an accessible water or ice dispenser, clean the surfaces around the dispensing area as well.
Check beneath and behind the appliance if it can be moved safely. These areas often contain dust, crumbs, pet hair, and objects that have accumulated over years. If condenser coils are accessible and the appliance manual recommends cleaning them, vacuum accumulated dust using the method specified for the model.
Oven, Stovetop, Range Hood, and Microwave
Inspect the oven before deciding how aggressive the cleaning needs to be. A lightly used oven may need little more than a wipe-down, while baked-on grease can require an oven-specific product and the full dwell time listed on its label.
Remove grates or burner components that the manufacturer identifies as removable and clean them separately. Wipe the stovetop, control panel, knobs, backsplash, and surrounding cabinet faces, where airborne cooking grease tends to accumulate.
The range hood deserves attention because its filter can hold considerable grease. Remove and clean reusable filters according to the manufacturer’s directions or replace disposable filters when necessary.
Clean the microwave interior, turntable, handle, keypad, and exterior. Steam from a bowl of hot water can help loosen dried food before wiping, reducing the amount of scrubbing required.
Dishwasher
Check the bottom of the dishwasher for a removable filter. If the model has one, remove and clean it according to the appliance instructions. Food residue trapped in the filter can be responsible for odors even when the dishwasher itself appears clean.
Wipe the door edges and gasket, check the spray arms for obvious debris, and run an empty cleaning cycle using a product or method approved by the dishwasher manufacturer. This is preferable to improvising combinations of household chemicals inside an appliance whose internal materials and seals may have specific cleaning requirements.
Cabinets, Drawers, Counters, and Sink
Vacuum loose crumbs from cabinet and drawer corners before wiping them. Clean shelves, drawer interiors, cabinet fronts, pulls, and handles before dishes or food are unpacked. If you plan to use shelf liner, install it only after the surfaces have dried.
Clean countertops with a product appropriate for the material. Natural stone, butcher block, laminate, quartz, and other countertop materials do not all tolerate the same chemicals, so avoid assuming that a homemade acidic cleaner is safe simply because it is described as natural.
Finish with the sink, faucet, handles, backsplash, and garbage disposal area. Mechanical removal is the safest first response to obvious drain debris. Persistent slow drainage, leaks beneath the sink, or recurring sewer odors deserve plumbing attention rather than progressively stronger drain chemicals.
Once every upper surface is finished, vacuum or sweep the kitchen floor and mop using a cleaner suitable for the flooring material.
Step 5: New House Bathroom Cleaning Checklist
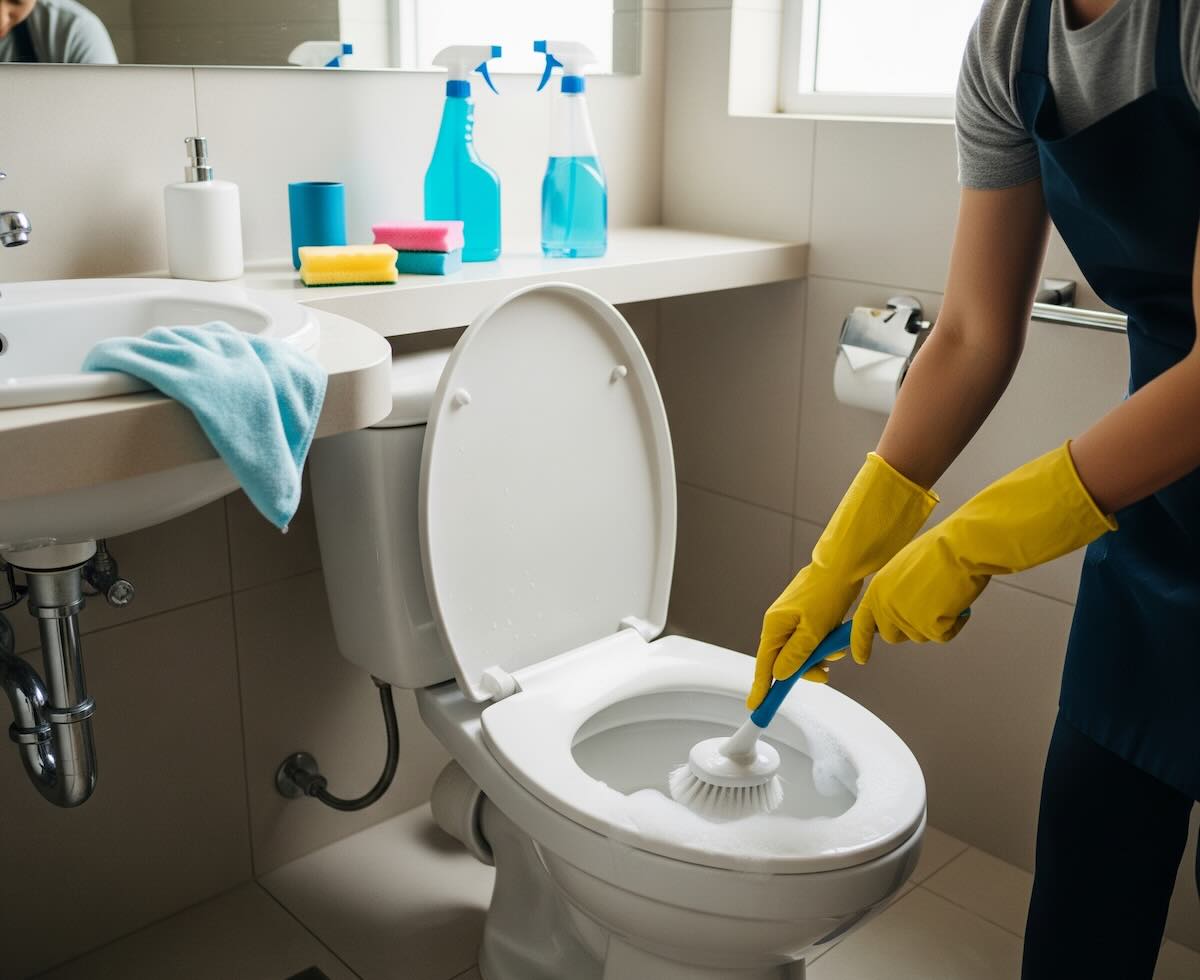
A bathroom deserves a thorough move-in clean, but replacing fixtures simply because someone else used them is usually unnecessary. A sound toilet seat, for example, can be cleaned and disinfected. Replace it because it is damaged, stained, loose, or because you prefer a new one, not because an otherwise serviceable seat cannot be cleaned.
Toilet, Tub, and Shower
Apply toilet cleaner as directed and clean the bowl, lid, seat, hinges, tank exterior, flush handle, base, and surrounding floor. Pay particular attention to hinges and the rear of the seat, where ordinary cleaning often misses residue.
Clean the bathtub or shower using a product compatible with the material. Fiberglass, acrylic, natural stone, tile, and glass can require different products. Scrub grout where necessary and inspect the caulk around tubs, shower pans, fixtures, and glass enclosures.
Discolored caulk does not automatically mean there is a major mold problem, but cracked, separated, or persistently moldy caulk may need to be removed and replaced. If moisture appears to be entering the wall or floor rather than remaining on the surface, investigate the source before treating it as a cosmetic cleaning issue.
Sink, Vanity, Mirror, and Drain
Clean the sink basin, faucet, handles, countertop, mirror, and cabinet interiors. Remove hair and visible debris from accessible drains mechanically rather than automatically pouring a strong chemical cleaner into every drain in the house.
Check beneath the vanity while it is empty. Water staining, swollen cabinet material, corrosion around supply lines, or an active drip should be addressed before toiletries and towels conceal the area.
Clean the exhaust-fan grille as well. A dust-covered grille restricts airflow and is easy to overlook because it sits above eye level. Finish by cleaning the baseboards and mopping the floor after the rest of the bathroom has been completed.
Step 6: Clean Bedrooms and Closets Before Furniture Arrives
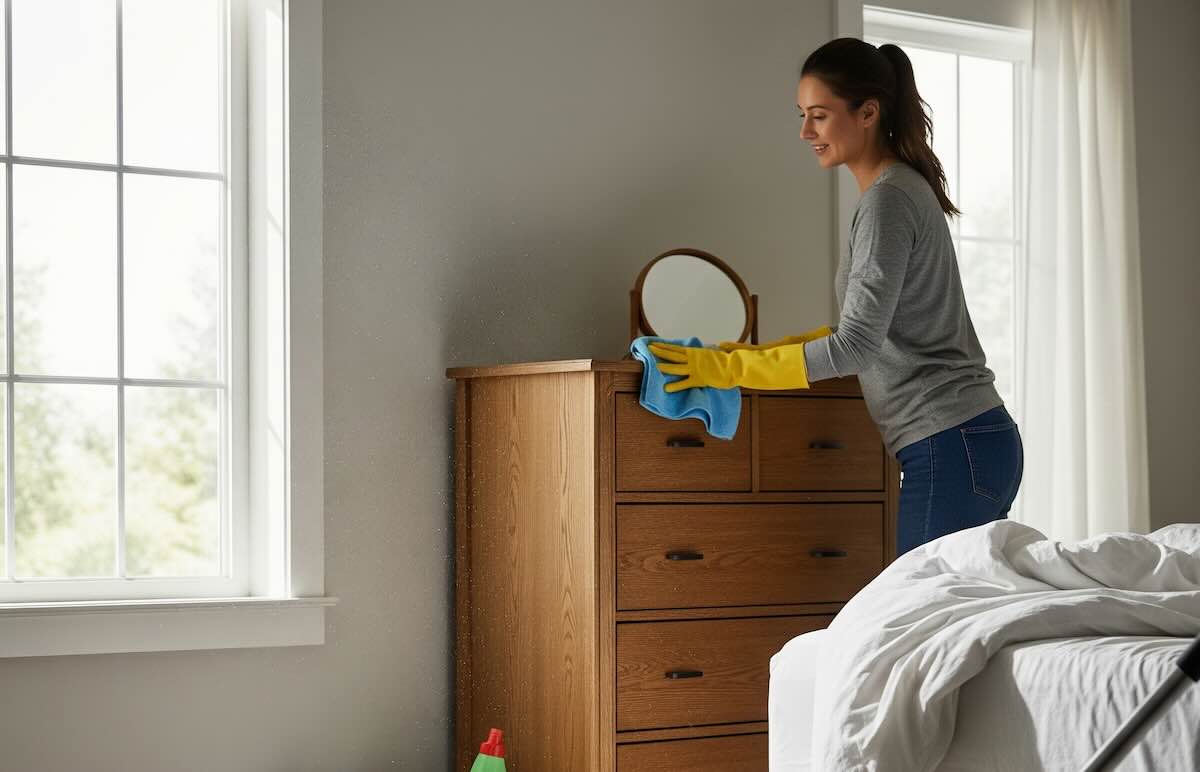
Bedrooms are much easier to clean before a bed, dresser, nightstands, and boxes consume most of the available floor area. Begin with ceiling fans and fixtures, then work through windows, blinds, doors, closets, trim, and finally the floor.
Dust the upper side of ceiling-fan blades rather than simply wiping the visible edge. Clean window glass, sills, and tracks, and wipe blinds if they are staying with the property. Any fabric curtains left behind by the previous occupant should be cleaned according to their care instructions before you decide to use them.
Empty closets deserve more attention than they usually receive. Vacuum corners, wipe shelves and hanging rods, clean the baseboards, and inspect for pest evidence before clothing and linens go inside.
For carpet, vacuum slowly along the perimeter as well as across the open floor. If there are persistent pet odors, visible stains, or heavily soiled carpeting, professional hot-water extraction may make more sense before furniture arrives. Hard floors should be vacuumed or swept first and then cleaned with a product suitable for the material.
Step 7: Clean Living Rooms, Hallways, and Entryways
Living areas often look cleaner than kitchens and bathrooms during a walkthrough, but they contain more square footage and a surprising number of dust-catching surfaces. Start with ceiling fans, fixtures, high shelves, and molding before moving downward.
Clean windows, sills, blinds, doors, handles, light switches, stair railings, trim, and baseboards. Vacuum accessible supply and return registers if the grilles are dusty. Ordinary dust on a return grille does not mean the entire HVAC duct system is contaminated.
If the home has a fireplace, visually inspect the fireplace and chimney components before using them. Cleaning visible ash from the firebox is different from determining whether the chimney and flue are safe for a fire. If you do not know when the system was last inspected, arrange an appropriate inspection before the first use.
Leave carpet and hard flooring until the rest of the room is finished. Entryways and central hallways may need another quick cleaning after the moving crew leaves, so concentrate your pre-move effort on areas that will soon be covered by furniture.
Step 8: Clean the Laundry Room and Appliances
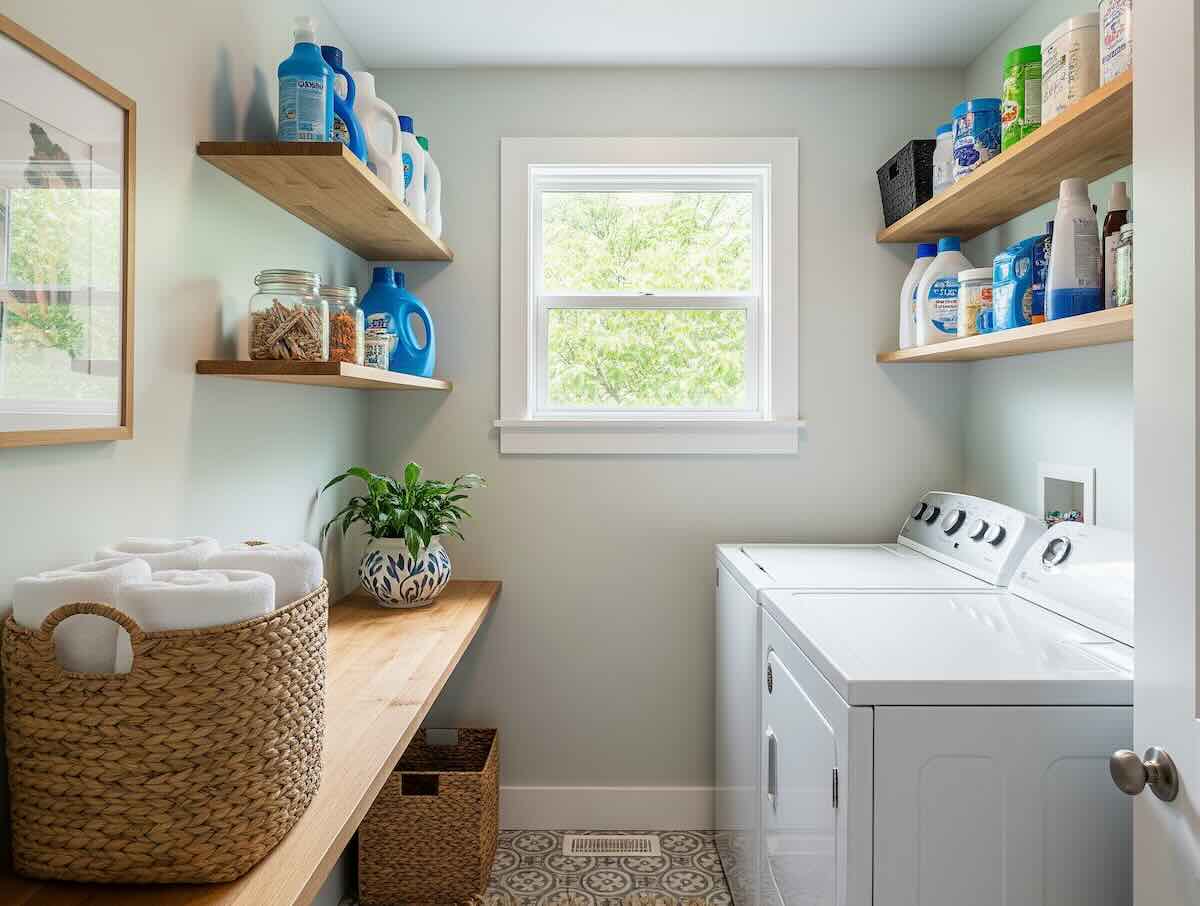
If the washer and dryer came with the property, clean them before running your first load of clothes. Washing machines can retain detergent, fabric softener, lint, and moisture in compartments and gaskets, while dryer lint deserves particular attention because accumulation in the exhaust system can create a fire hazard.
For a washing machine, clean the detergent dispenser and run the manufacturer’s recommended cleaning cycle. Front-loading machines deserve an additional check around the rubber door gasket, where water and residue can remain trapped in the folds.
Remove and clean the dryer lint screen, then vacuum accessible lint around the screen housing if the appliance instructions allow it. Inspect the exhaust duct connection for obvious damage, crushing, or heavy lint accumulation. If you cannot safely inspect or clean the complete dryer exhaust path, professional vent cleaning is preferable to dismantling an unfamiliar system yourself.
Finish by cleaning appliance exteriors, shelving, the utility sink, baseboards, and the floor.
Step 9: Clean Floors and Carpets Last
Floors should be one of the final jobs in every room because almost everything you clean above them sends some amount of dust or debris downward. Vacuuming before dusting the ceiling fan simply guarantees that you will need to vacuum twice.
For carpet, use a vacuum with a clean filter or bag and make several slow passes through heavily trafficked areas. Pay attention to wall edges, closet corners, stairs, and the spaces where furniture previously stood. Carpet with substantial staining or persistent odors is much easier to treat professionally while the house is empty.
For hardwood, laminate, vinyl, tile, or stone, first remove loose grit with a vacuum or broom. Then use a cleaner specifically compatible with the flooring. Avoid saturating wood or laminate floors with water, and do not assume that acidic household products are suitable for natural stone.
After the floor dries, avoid turning the entire house into a no-entry zone. Instead, identify the route movers will use from the front door to the main rooms and protect that path with appropriate floor protection on moving day.
Step 10: Check the HVAC System and Indoor Air Before Moving In
The HVAC filter is easy to overlook because it is not part of an ordinary cleaning routine, but move-in day is a useful time to establish a new maintenance baseline. If you cannot determine when the existing filter was installed, inspect it and replace it with the correct type and size when necessary.
Vacuum dusty supply and return grilles where accessible. Dust on a return register by itself is normal and does not mean you need to pay for whole-house duct cleaning.
Routine duct cleaning is not automatically recommended simply because a home had previous occupants. Professional assessment becomes more reasonable when there is substantial visible mold growth inside hard-surface ducts or HVAC components, evidence of rodents or insects, or excessive debris clogging the ducts and actually being released into the home.
Ventilation is also useful during a move-in clean. Cleaning products themselves can release compounds into indoor air, and newly installed paints, building materials, furnishings, adhesives, and similar products can contribute VOCs. When outdoor conditions permit, opening windows and increasing fresh-air ventilation while cleaning can help reduce indoor concentrations.
A portable air cleaner can supplement source control and ventilation when you have a reason to reduce airborne particles, but it should not be treated as a replacement for removing the source of contamination or providing adequate ventilation.
New Construction House Cleaning Checklist
A brand-new house still needs cleaning before you move in, but the priorities are different. Instead of another household’s cooking grease, bathroom residue, and pet hair, you are usually dealing with fine construction dust, packaging, labels, adhesive residue, fingerprints, and debris left behind as dozens of trades completed the property.
Construction dust is particularly good at hiding. Look across the tops of doors, inside drawers, along window tracks, above cabinets, on closet shelves, around registers, and across trim. Vacuum loose dust before using wet cleaning methods so that you do not turn fine particles into residue that has to be wiped repeatedly.
- □ Vacuum construction dust from floors, ledges, closets, cabinets, and window tracks.
- □ Wipe doors, trim, baseboards, shelving, and other horizontal surfaces.
- □ Clean inside cabinets and drawers before storing dishes, food, clothing, or linens.
- □ Remove protective film, labels, and adhesive residue from appliances and fixtures using surface-safe methods.
- □ Inspect the HVAC filter for dust accumulated during construction and replace it when needed.
- □ Vacuum accessible supply and return grilles.
- □ Ventilate the house when weather and outdoor-air conditions permit.
- □ Inspect tubs, sinks, windows, flooring, and countertops for paint, grout, caulk, or adhesive residue.
- □ Photograph scratches, cracked tile, damaged cabinets, incomplete caulk, paint defects, and other punch-list items before furniture covers them.
Do not confuse a builder’s final cleanup with your own inspection. A room can be swept and visually presentable while still having dust inside cabinets or construction defects that become difficult to document once the house is furnished.
What Should You Not Try to Clean Yourself?
A useful new house cleaning checklist needs a stopping point. Dust, ordinary grime, kitchen grease, soap residue, dirty cabinet interiors, and most household messes are cleaning jobs. Structural moisture problems, substantial mold contamination, sewage, potentially hazardous building materials, and serious pest infestations are different categories of work.
For mold, the first question is not simply how to remove the visible discoloration. It is why the area became wet enough for mold to grow. A leaking pipe, roof problem, condensation issue, or water intrusion needs to be corrected or the growth may return.
EPA guidance says that mold covering an area smaller than roughly 10 square feet can often be handled by the homeowner under ordinary circumstances. Larger areas, extensive water damage, sewage involvement, or contamination that extends into building materials deserve more careful evaluation and may warrant professional remediation.
| What You Find | Reasonable Next Step |
|---|---|
| Ordinary dust and household grime | DIY move-in cleaning |
| Heavy kitchen grease or neglected bathroom | DIY deep cleaning or professional cleaner |
| Heavily stained or persistent-smelling carpet | Consider professional carpet cleaning before furniture arrives |
| Small isolated surface mold area | Address the moisture source and follow appropriate mold-cleanup guidance |
| Mold covering more than roughly 10 sq. ft. or extensive water damage | Consider professional assessment/remediation |
| Sewage contamination | Professional remediation |
| Dusty HVAC registers | Vacuum or clean the registers |
| Substantial mold, vermin, or excessive debris inside HVAC ducts | HVAC or duct professional assessment |
| Persistent smoke or severe odor | Investigate and remove the odor source; consider an appropriate remediation professional |
Avoid using an ozone generator as a routine DIY odor solution. Ozone is a lung irritant, and ozone generators are not recommended for occupied spaces. Odor problems are better approached by identifying and removing the source, cleaning contaminated materials, and improving ventilation where appropriate.
What to Do After Cleaning but Before Unpacking
The few hours between finishing the clean and filling the house with furniture are useful for several jobs that become surprisingly inconvenient later.
If you own the home, consider rekeying exterior locks so that keys held by previous occupants, contractors, cleaners, or other people no longer provide access. Renters should coordinate lock changes with the landlord rather than altering locks without permission.
Locate the main water shutoff, electrical panel, and gas shutoff if the property uses gas. Label breakers that are not already clearly identified. You do not want your first introduction to the water shutoff to happen while a supply line is leaking onto the floor.
Test smoke alarms and carbon monoxide alarms where installed, and determine whether any units are approaching the end of their service life. Install shelf liner now if you plan to use it because an empty cabinet is considerably easier to measure and line than one filled with dishes.
Finally, photograph each cleaned room before the moving crew arrives. Renters gain a useful condition record, while homeowners gain documentation of the home’s condition before furniture, deliveries, and everyday use begin adding wear.
When Is Professional Move-In Cleaning Worth It?
Hiring cleaners is less about whether you are capable of doing the work and more about the condition of the property, the amount of time available, and what else is happening during moving week.
A reasonably clean one-bedroom apartment with an empty afternoon before move-in is a straightforward DIY project. A large house that becomes available only one day before a long-distance moving truck arrives presents a very different calculation. In that situation, paying a cleaning crew to work through the empty property while you handle utilities, travel, paperwork, and delivery logistics may be the more practical choice.
Professional cleaning also becomes more useful when the job requires equipment you do not already own. Heavily soiled carpeting, extensive tile and grout, persistent pet residue, or a very large amount of post-construction dust can turn an inexpensive DIY clean into equipment rentals, supply purchases, and a full day or more of labor.
When requesting quotes, describe the job as a move-in deep clean of an empty home and ask exactly what is included. Appliance interiors, cabinet interiors, windows, wall washing, carpet cleaning, garages, and post-construction dust are not automatically included in every company’s standard cleaning package.
How to Keep the House Clean When the Movers Arrive
There is no realistic way to have several people carry furniture and boxes through a house without introducing some dirt. The goal is to protect the work that would be difficult to repeat, not to preserve every square inch of flooring in untouched condition.
Make sure cleaned floors are completely dry before the crew arrives. Protect the main route between the truck and the rooms receiving the most furniture using floor protection appropriate for the surface. Avoid loose sheets, towels, cardboard, or other materials that can slide under someone carrying a heavy item.
Do not worry about repeatedly mopping the entryway while unloading is still underway. Finish the deep cleaning before the move, protect the traffic path during delivery, then vacuum or mop the main walking areas once the final box is inside.
Keep one cleaned bathroom stocked with toilet paper, soap, and hand towels, and leave a small group of essentials accessible rather than packing every cleaning product onto the moving truck. Paper towels, garbage bags, hand soap, a broom, and basic cleaner are among the items you are most likely to need before you find the box labeled “cleaning supplies.”
FAQ: New House Cleaning Checklist
What should I clean first in a new house?
Start with a walkthrough rather than a cleaning product. Document existing damage and check for leaks, mold, pests, or maintenance problems. Once cleaning begins, work from high surfaces downward so that dust from fans, fixtures, shelves, and cabinets falls onto surfaces you have not cleaned yet. Kitchens and bathrooms are usually the first rooms worth completing because you will need them immediately after moving in.
Should I clean a new house before or after the movers arrive?
Complete the deep cleaning before the movers arrive whenever you have access to the property. An empty house gives you unrestricted access to cabinets, closets, floors, baseboards, appliances, and corners. After delivery, you should only need to touch up the entryway and other high-traffic paths used by the moving crew.
Do I need to clean a brand-new construction home before moving in?
Yes. A newly built home may not contain grime from previous occupants, but construction dust and residue can remain on floors, ledges, window tracks, cabinets, fixtures, and other surfaces. It is also a good time to inspect the HVAC filter, ventilate the property when appropriate, and document unfinished or damaged items for the builder’s punch list.
Should I disinfect everything in a new house?
No. Thorough cleaning is appropriate for most ordinary household surfaces. Disinfection is more useful for specific high-touch or contamination-prone areas and in situations where there is a particular reason to disinfect. When using a disinfectant, follow its label rather than combining it with other household cleaners.
Should I have the air ducts cleaned before moving into a new house?
Not automatically. Dust on a return grille is common and can usually be vacuumed. Professional duct cleaning is more relevant when there is substantial visible mold inside hard-surface ducts or HVAC components, vermin infestation, or excessive debris clogging the system and being released into the home.
What should I clean before unpacking the kitchen?
Clean refrigerator and freezer interiors, the oven and stovetop, microwave, dishwasher filter and interior, cabinet and drawer interiors, countertops, backsplash, sink, faucet, cabinet fronts, and the floor. Allow cabinets and shelves to dry completely before unpacking dishes or food.
What should I do if I find mold while cleaning my new house?
First look for the moisture source. Cleaning visible mold without correcting a leak or moisture problem can allow it to return. Small isolated areas can often be handled following appropriate mold-cleanup guidance, while larger areas, extensive water damage, sewage contamination, or mold extending into building materials may warrant professional help.
How do I remove odors from a house before moving in?
Start with the source rather than fragrance. Clean carpeting and soft surfaces, remove trash and residue, clean appliances, replace an old HVAC filter when appropriate, and ventilate the property. Persistent smoke, pet, moisture, or sewage odors may indicate contamination or a building problem that requires more than ordinary cleaning. Avoid using an ozone generator as a routine household odor treatment.
Should I clean inside cabinets and closets?
Yes. This is one of the most worthwhile move-in tasks because cabinet and closet interiors become inconvenient to clean once they contain food, dishes, clothes, or linens. Vacuum loose debris first, wipe the surfaces, allow them to dry, and install shelf liner afterward if you use it.
What cleaning supplies should I keep out on moving day?
Keep paper towels, garbage bags, hand soap, toilet paper, a few microfiber cloths, an all-purpose cleaner, broom or vacuum, and a floor cleaner accessible. Do not pack these deep inside the moving truck because you will probably need them before the unloading process is finished.
Planning your move into a new home?
Once the house is ready, the next step is getting your belongings there safely. Coastal Moving Services can help coordinate residential and long-distance moves based on your inventory, origin, destination, access conditions, and moving date.
References
- Centers for Disease Control and Prevention – Cleaning and Disinfecting Your Home
- U.S. Environmental Protection Agency – A Brief Guide to Mold, Moisture and Your Home
- U.S. Environmental Protection Agency – Volatile Organic Compounds’ Impact on Indoor Air Quality
- U.S. Environmental Protection Agency – Should You Have the Air Ducts in Your Home Cleaned?
- U.S. Environmental Protection Agency – Ozone Generators that Are Sold as Air Cleaners
- U.S. Environmental Protection Agency – Guide to Air Cleaners in the Home
- U.S. Fire Administration – Statistical Reports on Fire Causes and Residential Clothes Dryer Fires